Gatherhaus is a community that strives towards purposeful living. Part of that healthy quest includes learning about the foods we put in our bodies to fuel our lives.
For all the hype about what we shouldn’t be putting in our bodies, what about some of the missing, under-appreciated gems that we can bring back?
Fermented foods bring balance to our digestive system by making sure we have enough good bacteria to fight off the bad bacteria that lurks in our guts. Some folks take a probiotic pill to reach their daily requirement; however quality pills are extremely expensive. (You need a product that has over a billion probiotics in it to see benefit.) Adding fermented foods gives a prudent alternative to expensive pills, and once you get into the routine, it is easy to do. At the top of the list of fermented foods? Kombucha. Kombucha is loaded with good bacteria to restore balance to overly-taxed bodies that have lived on a traditional American diet for too long.
Being new on this journey, Gatherhaus sat down with Jessica Wallerstedt, a woman who has spent years researching and practicing natural health for her kids, to learn the ins and outs of making Kombucha. We’ve included research on the positive and negative press around Kombucha and fermented foods at the end of this post, but if you are interested in how to make it yourself, Jessica provided us with simple step-by-step instructions.
Much like every new journey we take, the first time we do something, it brings a layer of hesitation in an effort to make sure we are doing it right. If it makes this easier, grab a friend to do this with, but don’t be put off by the instructions. I was amazed at how simple it really is…and so inexpensive!
For every 1 gallon of Kombucha you will need:
1 gallon water (filtered preferred)
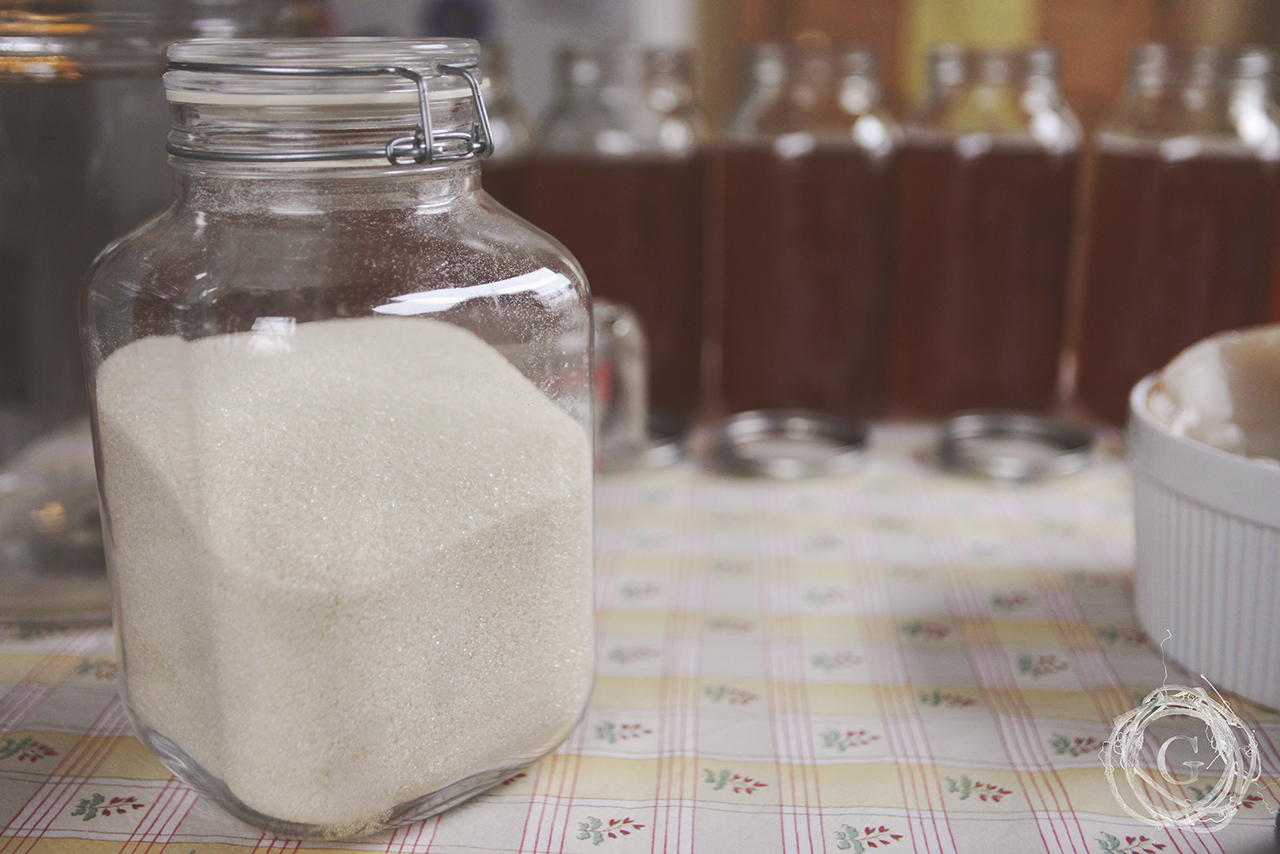
1 cup sugar (cane, organic or sucanat)
1 cup Kombucha starter (from a previous batch, a friend, or the store)
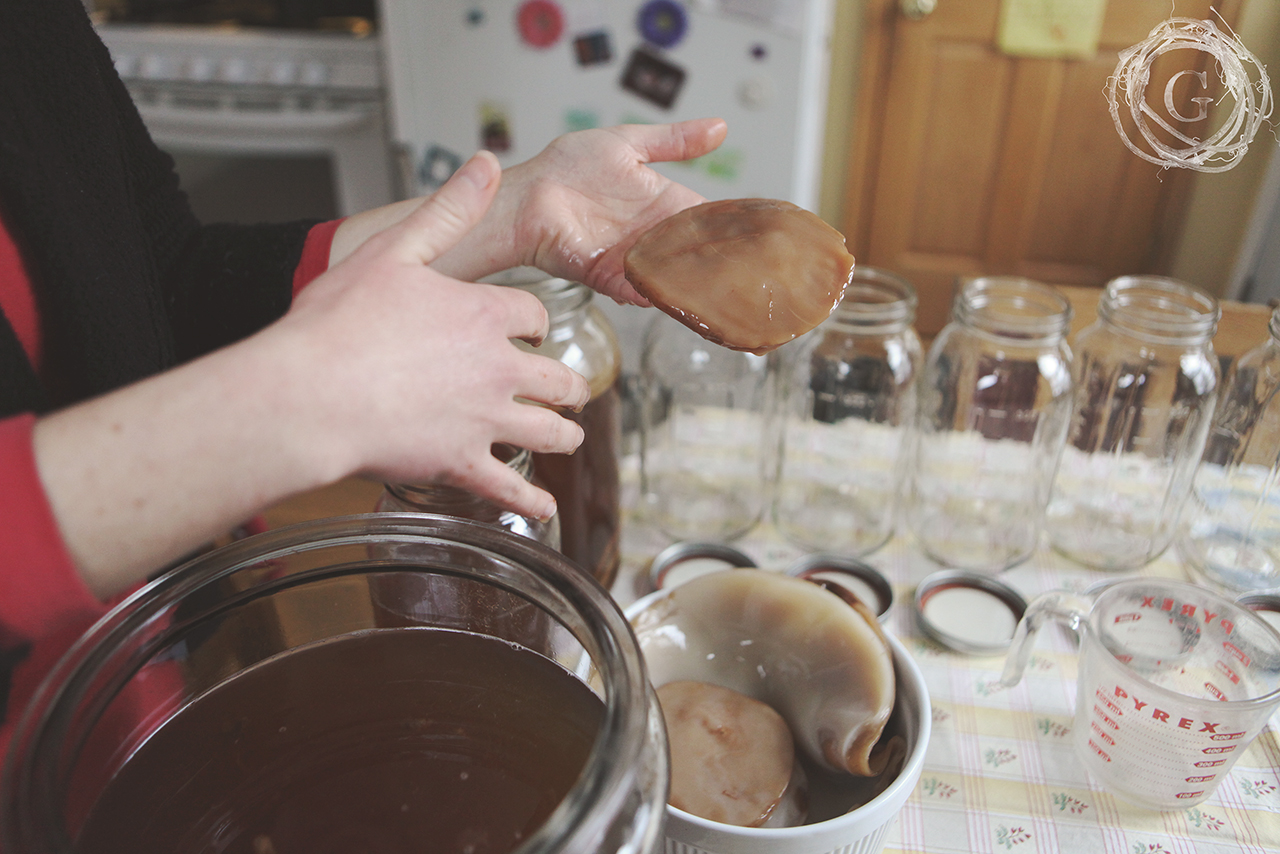
1 SCOBY (symbiotic culture of bacteria and yeast) *See note*
10 tea bags (a combination of black, green, and white, with at least some black for best results. Do not use teas with flavorings.)
**Note: When buying tea, it might be a good idea to research and purchase organic tea to help reduce the risk of having too much fluoride in your kombucha.
*You can get a SCOBY from a friend who is making their own kombucha OR you can make your own. Here is a simple video that shows you how easy making your own SCOBY is! https://www.youtube.com/watch?v=3ViZR89ViZg
Other items:
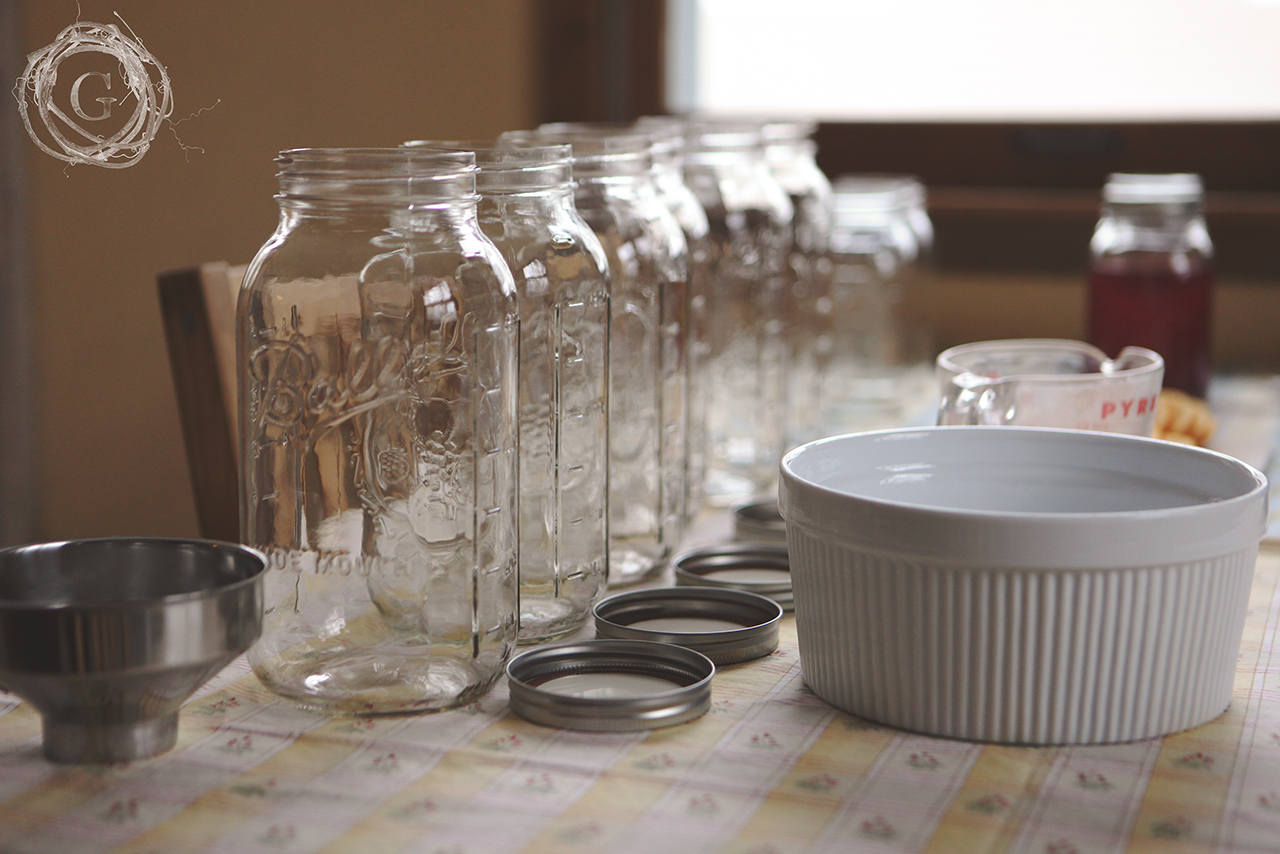
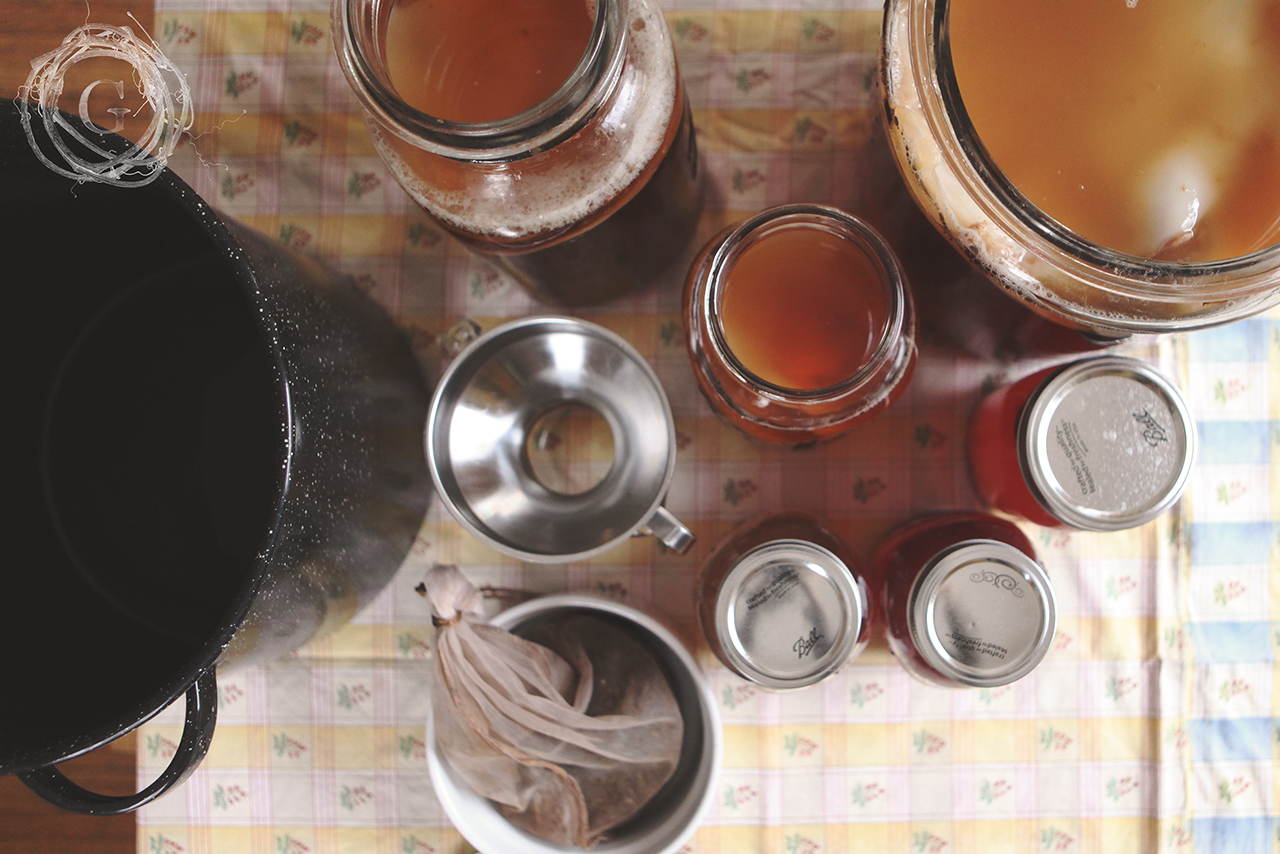
A glass jar to brew in
Secondary jars/bottles to store finished brew in
2 flour sack towels, paper towels, napkins or coffee filters to cover brewing jar and use as a second ferment filter
Rubber band or string
Other items that help but aren’t needed:
Funnel
Fruits/juice/extracts for second ferment
Now that you have your kombucha items, let’s get started!
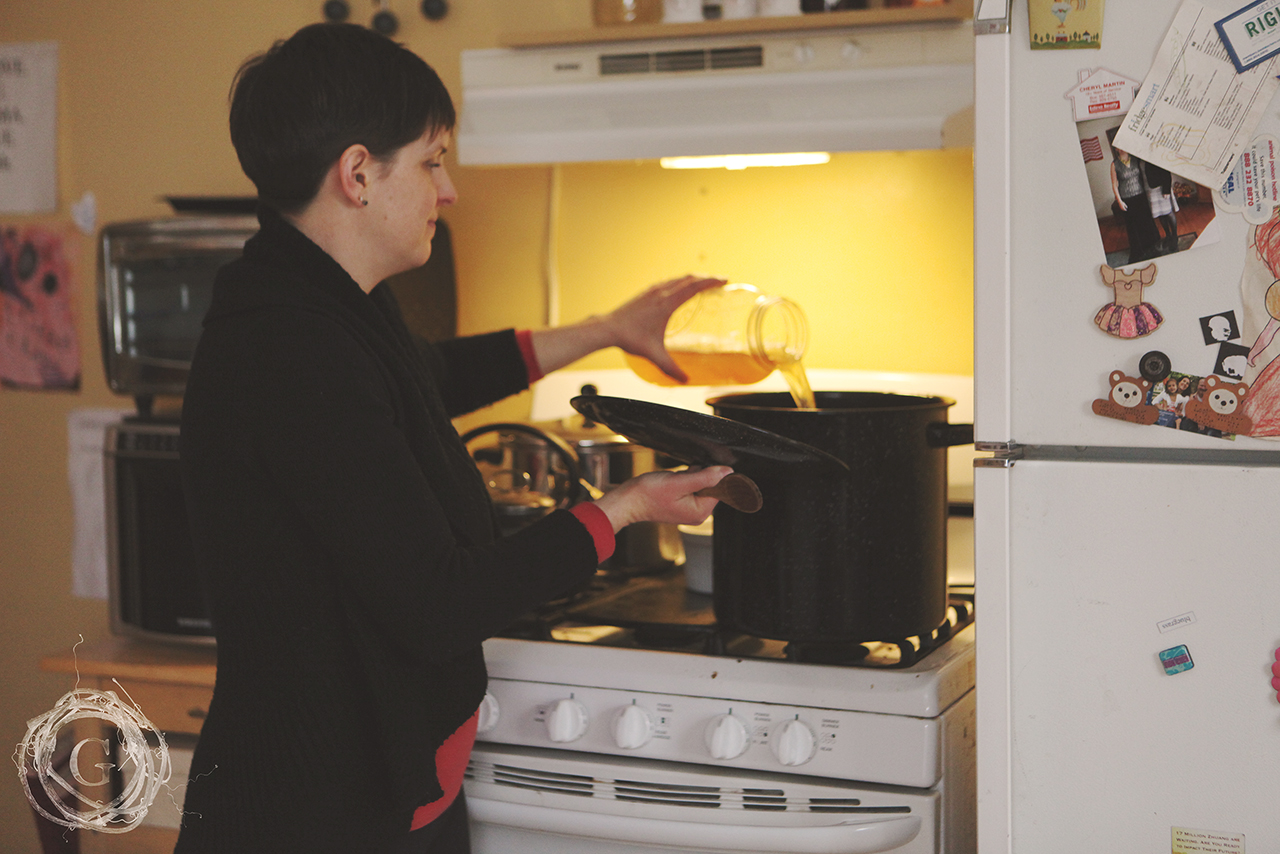
- Bring your water to a boil. Then add and brew your tea for 5-10 minutes. If your water isn’t filtered, let the water boil for 10-20 minutes to remove impurities before brewing.
- Add sugar and stir to dissolve.
- Let tea come to room temperature. (Put it outside on a cold, winter day to speed up the process!)
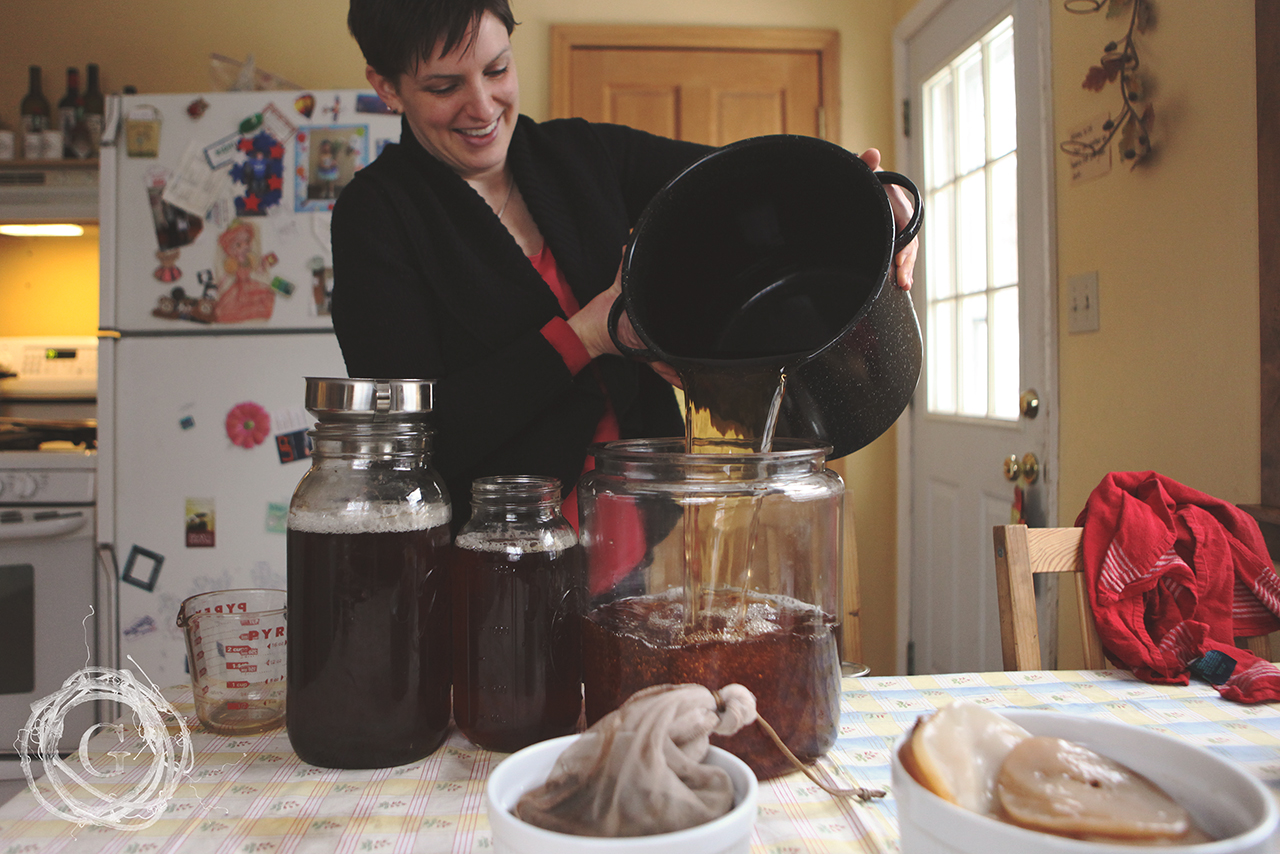
- Once at room temperature, add in kombucha starter, stir, add SCOBY, and cover with a tea towel (or other item listed above), fastened with a string or rubber band.
- Let sit in a warm(ish) place in your kitchen or pantry away from direct sunlight for as little as one week or as much as a month (or longer!) depending upon how you like your kombucha to taste.
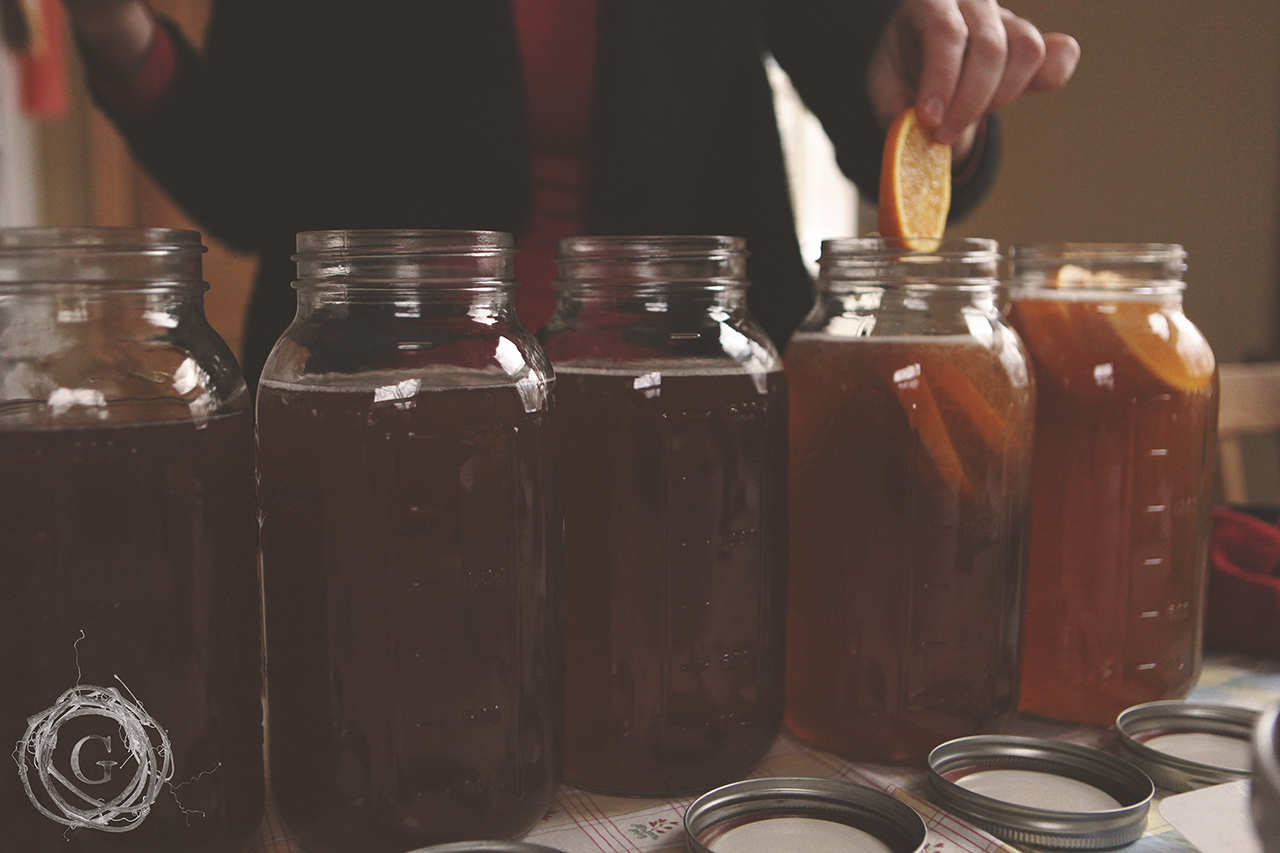
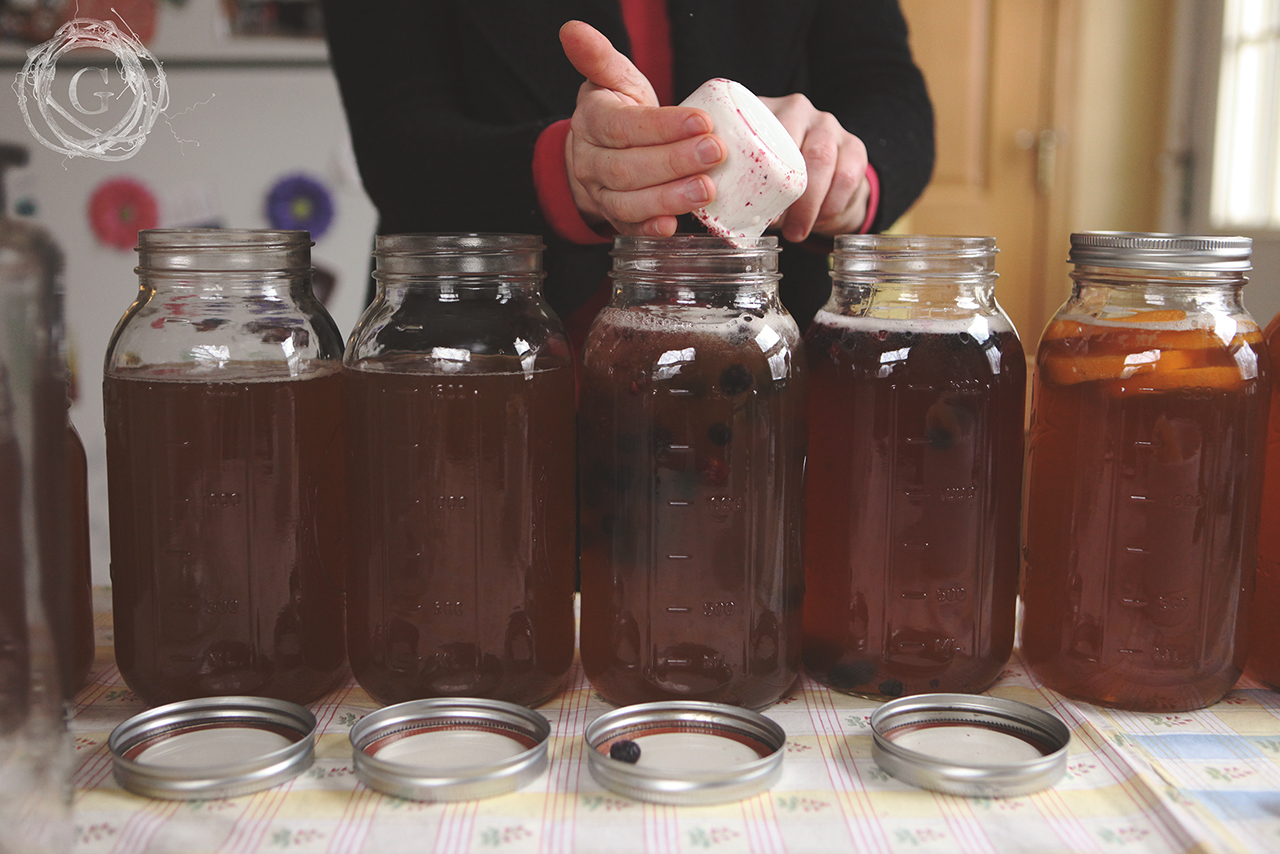
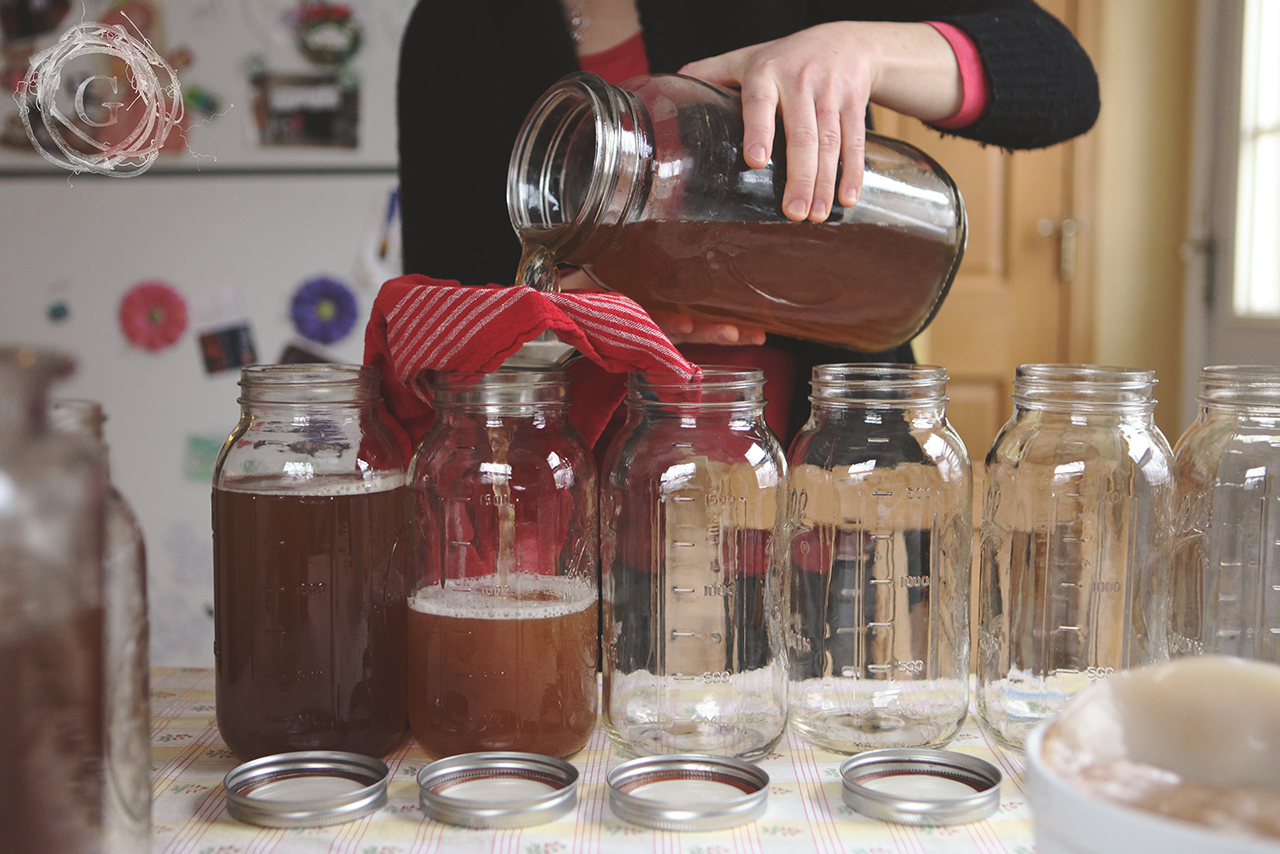
- When it is to your liking, remove and set aside the SCOBY. Measure out and set aside some new starter for your next batch, and then pour the remaining kombucha into secondary, capped containers for storage. (Filter out any solid pieces if you prefer…my kids and I do!) Your kombucha is ready to enjoy at this point. You may also chose to do a second ferment by adding additional flavors such as fruit, spices, juice, or extracts. Once the flavors are added, you may cover the jars and let them sit out for a few additional days to blend the flavors and create additional carbonation.
Refrigerate and Enjoy!
Here are a couple extra things to help you on your journey:
Remember that this is a journey, one where you explore, screw up, start over, and yes, hopefully find success!
Your added SCOBY does not need to float to the top or match the size of your brewing jar to be effective. It simply needs to be in the tea to help the brewing process. A new SCOBY will grow each time along the top as it ferments.
The longer you leave your kombucha to brew (and the warmer your brewing environment), the more sugar will be consumed by the bacteria and yeast, and the tangier it will taste (think vinegar). I prefer mine at about two weeks and the SCOBY at about 1/4 inch. Much of the sugar is gone at that point, but it still has good flavor. Summer brewing will be shorter. Winter brewing is longer.
Be creative with your second ferment additions! Berries, ginger, citrus, stone fruits, vanilla, spices, and 100% fruit juice are all yummy additions. We have our favorites but do like to switch it up once in a while depending upon the season.
As long as your SCOBY isn’t growing anything blue or green, you’re doing ok 
However, if you notice mold spots or think your brew is off-tasting in any way, toss it. It’s better to be safe than sorry!
Bubbly kombucha is healthy kombucha! Bubbles are affected by the type of storage container you use, so if it started out bubbly and isn’t anymore, it’s most likely the container. (Flip-top pop bottles work great for extra fizz but aren’t needed; Jessica uses 1/2 gallon mason jars because of their storage convenience.)
SCOBYs are not pretty and are rather slimy, but I promise, if you stick with brewing your own kombucha and love it as much as we do, you’ll grow to love yours and think it beautiful in its own special way.
Because kombucha is made from tea, it does have some caffeine. If you would prefer decaf kombucha, let your tea bags sit in another batch of water for 90 seconds before brewing your kombucha tea. That will eliminate most of the caffeine. We skip this step but learned the hard way not to give kombucha to your kids at dinner if you want them to go to bed on time.
Start enjoying kombucha SLOWLY. Just like you wouldn’t go to the store and eat a whole quart of yogurt in one sitting, you don’t want to start consuming large amounts of Kombucha to start. 1/4 cup per day for a week or two, slowly adding more each day after that is a good pace. A few tablespoons each day is all you actually need to get the probiotic benefits, so any more is just a bonus once your body can tolerate the flood of new, good bacteria. We’ve topped out at 1 cup per day, because any more than that and we run out before the next batch is ready.
Another factor to note when consuming fermented foods is that if this is your first exposure to them, you may experience “die off” of the bad bacteria and yeasts currently living in your body. Some experience it and some don’t. Be aware and do a little research on what to look for if you start feeling worse rather than better when first consuming Kombucha.
Check out this article or this blog to learn more about fermented foods.
When I was looking for negative feedback on kombucha, most of what I found just commented that the beverage lacked scientific proof of its powerful aid in restoring health…however it is easy to find very loyal kombucha believers with stories of how this fermented drink was instrumental in making them healthy again.
Here is an article about how kombucha can work for you.
Have fun!
Gatherhaus is the enchanting reality of bringing these rare and beautiful pieces together.
People, places, art, and food that inspire us and make us chase after dreams
of deep, rich community and fulfillment.
